Tread Matters: Tire Selection and Fuel Economy
Tires have been a popular subject in magazines for decades, and forums continually see new threads seeking information and expertise. This is partly because they are expensive. They can also provide dramatic style and performance improvements and are an easy upgrade. With so much talk, it is surprisingly difficult to get unbiased, detailed, and authoritative information.
Fuel economy is another perpetually popular topic. Since tire choice affects mpg, or so we have always believed, the subjects are intrinsically linked. Some folks don’t care about mpg, but many care a lot. Except for the purchase of a new(er) truck or major repairs, fuel is our biggest operational expense.
What if it was possible to improve your highway mpg by 5 or 10%? Not a possible increase from the latest magic program pushed by a snake-oil salesman, but simply by choosing a different tread design? An improvement that could be measured and verified, repeatedly, with real world testing, not just theory or laboratory results that are difficult, if not impossible, to replicate.
What Affects MPG?
In the enthusiast truck world it is commonly accepted that bigger rubber reduces miles-per-gallon. Maybe, but bigger is not specific, sometimes it means wider, taller, or both. Taller tires will increase the overall final-drive-ratio, which can help or hurt efficiency depending on the platform and usage.
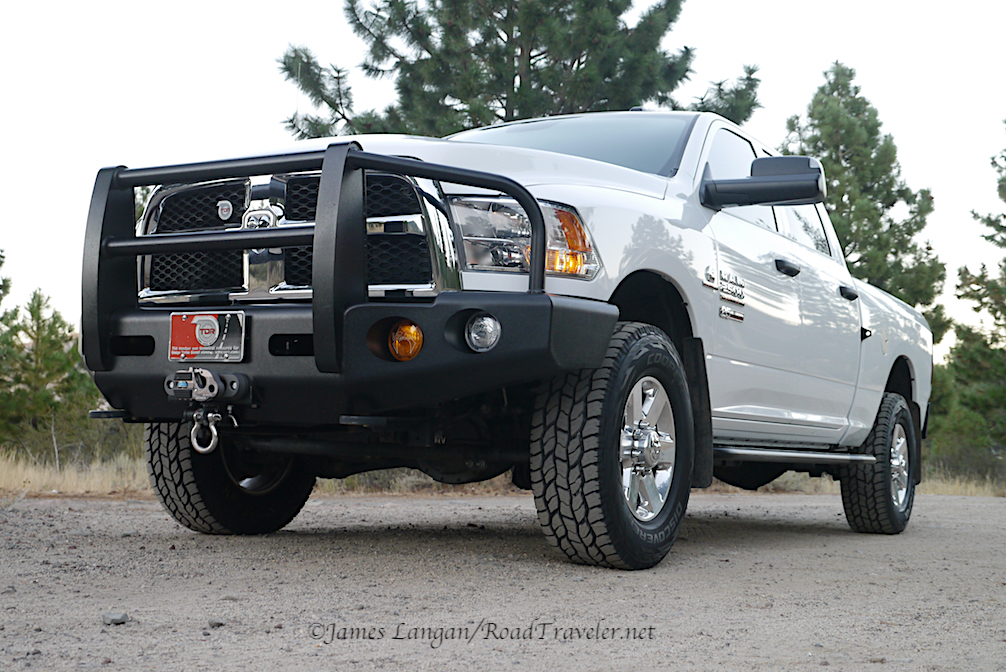
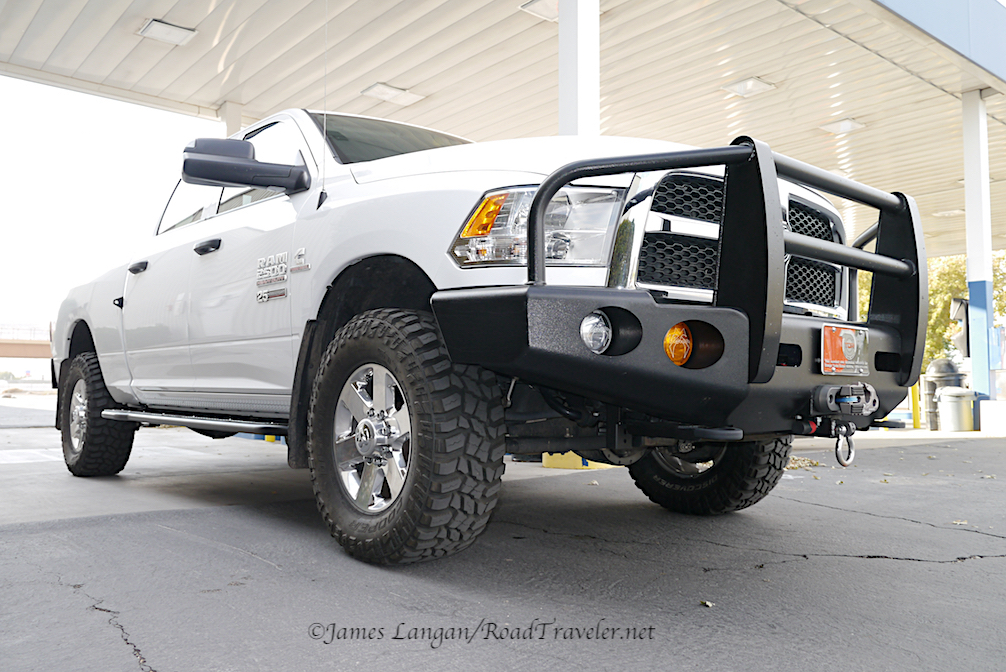
Previous tests with my 3.42:1-geared, 2014 Ram/Cummins 2500 used for this article indicate that taller meats up to 35” helped economy, or at least hurt mpg less than one might expect when unloaded. Tradeoffs include less torque and slower acceleration from higher final-gearing, though current generation trucks make plenty of torque and horsepower for most reasonable loads. My sense is that stepping-up to 37s would require lower differential gears for optimal performance.
When folks upgrade their tires, particularly on a four-wheel-drive, they often switch to a higher-void pattern; sometimes the more aggressive tread is chosen simply for looks. Even if we don’t mind the road noise or faster wear of an aggressive pattern, how much fuel does looking cool consume if one rarely or never drives off-road? With multiple, simultaneous changes, it’s impossible to say what caused a reduction in fuel economy. Instead of belaboring what modifications can do to our trucks, or what affects what, I’ll briefly quote myself, “Modifications lead to modifications.”

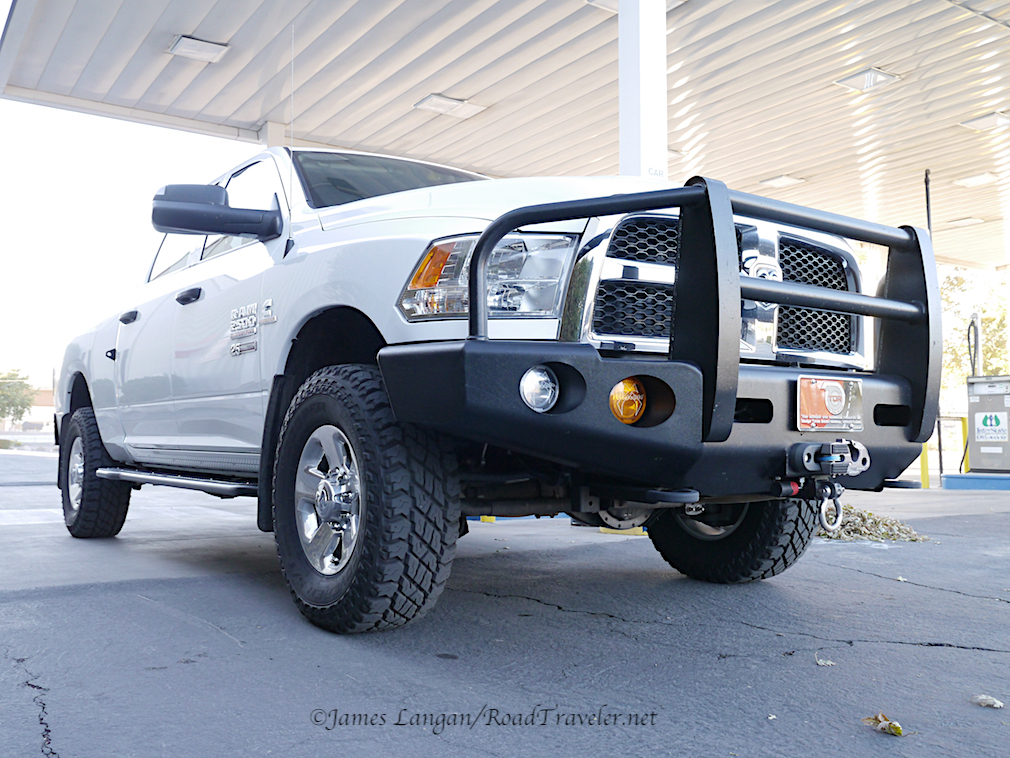
Controlling Variables With Cooper Discoverer Tires
With generous support from Cooper Tires, I performed a series of real-world tests to document how tread design (or pattern) or tread width impacts fuel economy. I invested a substantial amount of time and money to prove or disprove commonly accepted hearsay and to produce solid data I could not find anywhere. The pattern design tests are complete, and my procedures are detailed below together with the results in Table Two. The width results are concerning, or at least surprising, and additional work may be necessary to become comfortable with the facts.
The primary variable to be controlled for the design test was the size, but weights, odometer and speedometer error, wind, and temperatures were also logged. The bullet list below offers details.
- Weather forecasts were monitored until several similar days were on the horizon. Because wind is common in Nevada, and typically increases with the afternoon temperatures, just one test was performed each morning, avoiding the higher winds and heat that would influence outcomes if I conducted multiple runs each day.
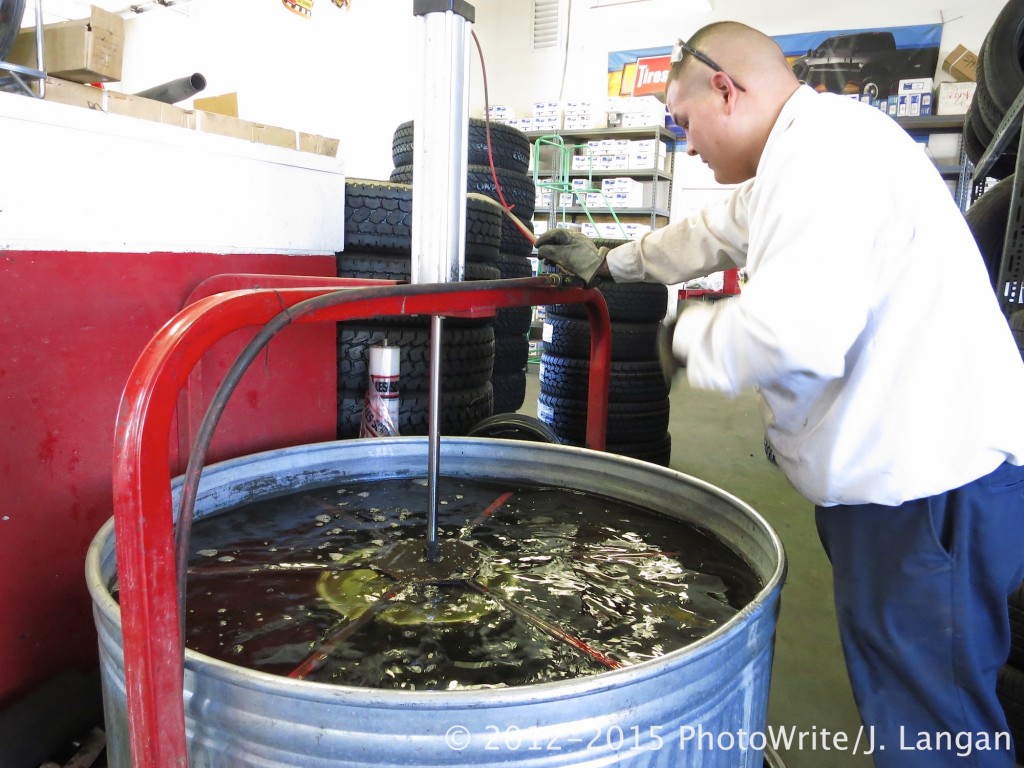
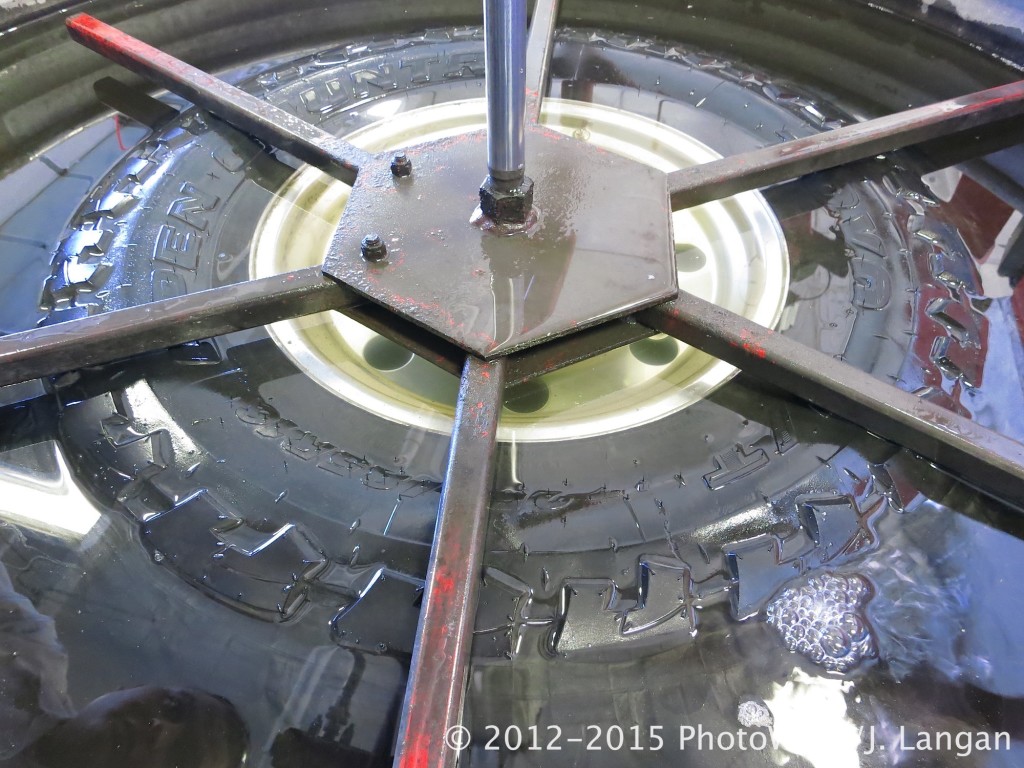
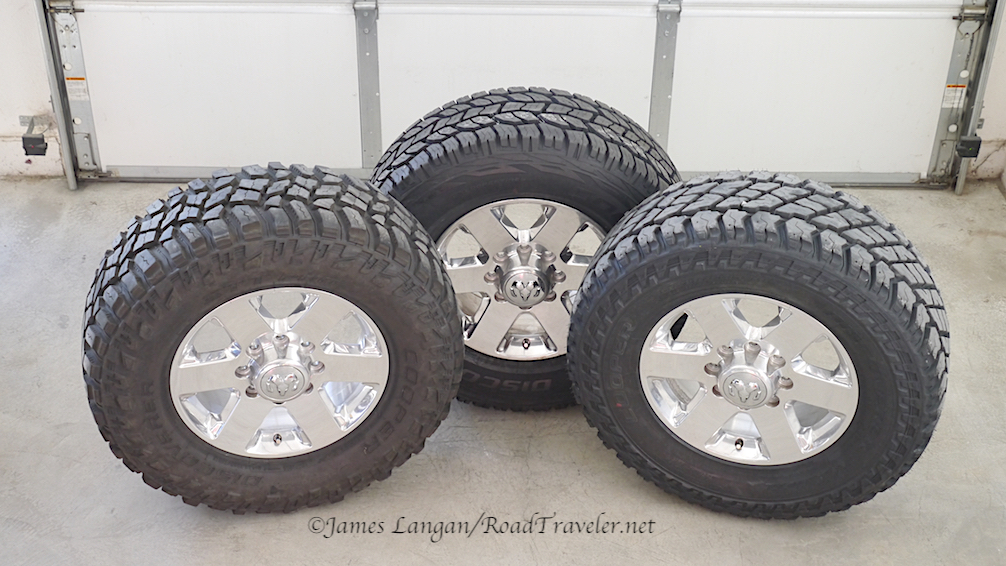
- Three used sets of the same 29.8-pound, forged-aluminum (WBJ) Ram Bighorn 18” wheels were purchased from Craigslist, allowing all tires to remain mounted and balanced in case a test needed repeating.
- Odometer error was measured for every design using mile-markers (MM) and GPS, as different treads in a certain size are not dimensionally identical. A single, constant-GPS distance was used for all mpg calculations. Road speed was monitored with GPS and corrected speedometer measurements.
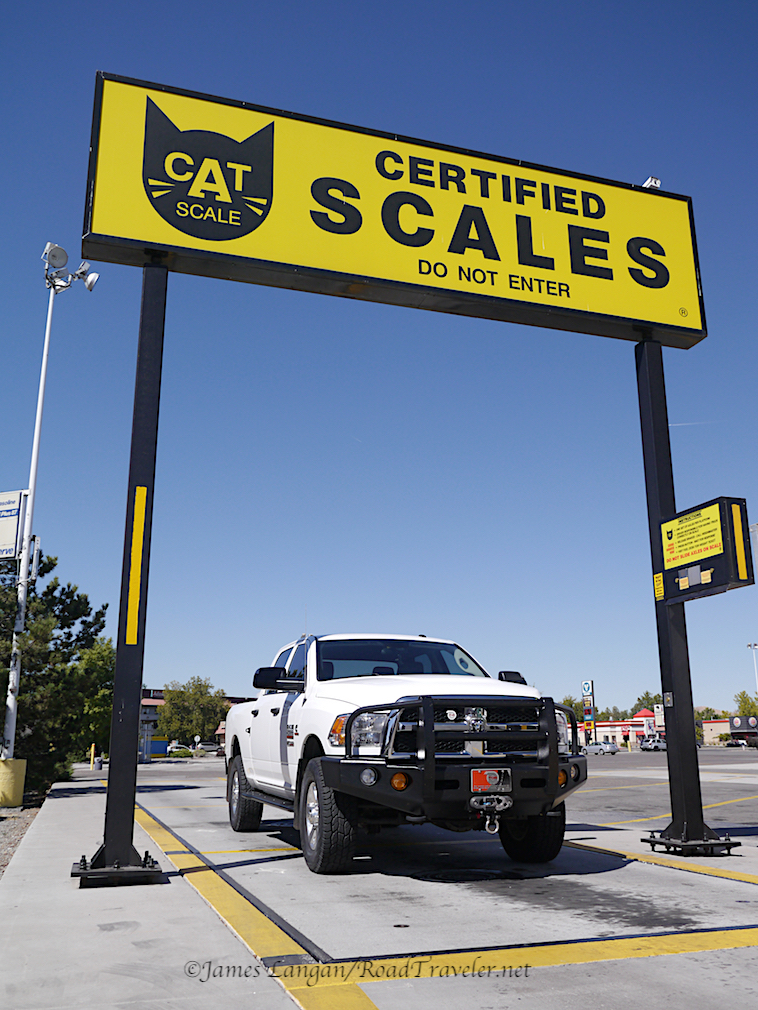
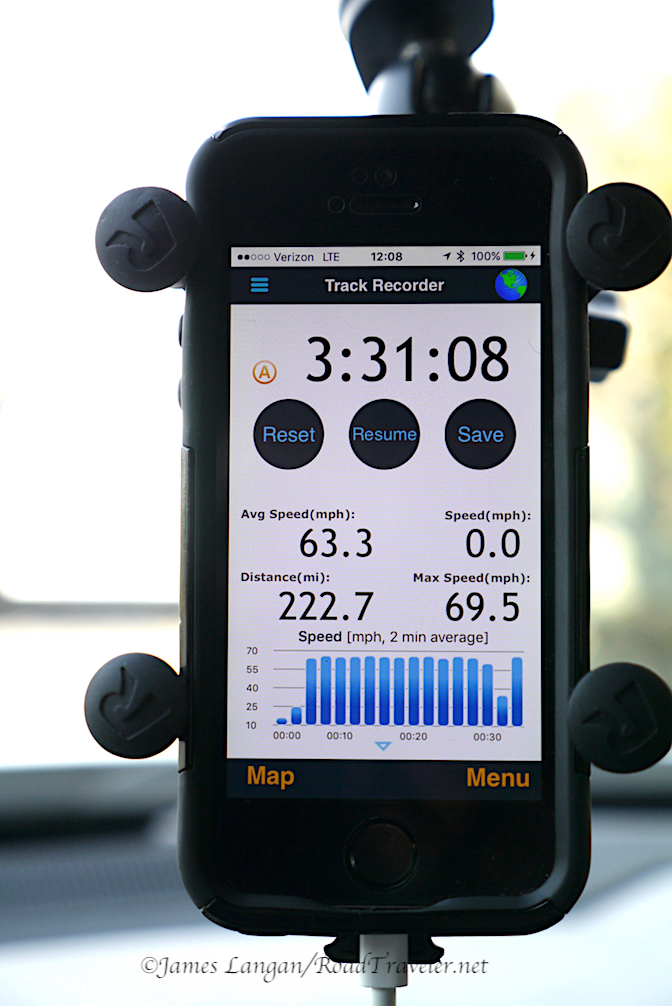
- To reduce the possibly of substantial inaccuracies during fueling, and to increase the validity of the data, the roundtrip route distance was 222.7-miles, over mostly level freeway.
- Refueling was done at a particular pump, on the slowest fill rate to prevent foaming, and never topped-off. The freeway onramp is just one mile and three stoplights from the filling station.
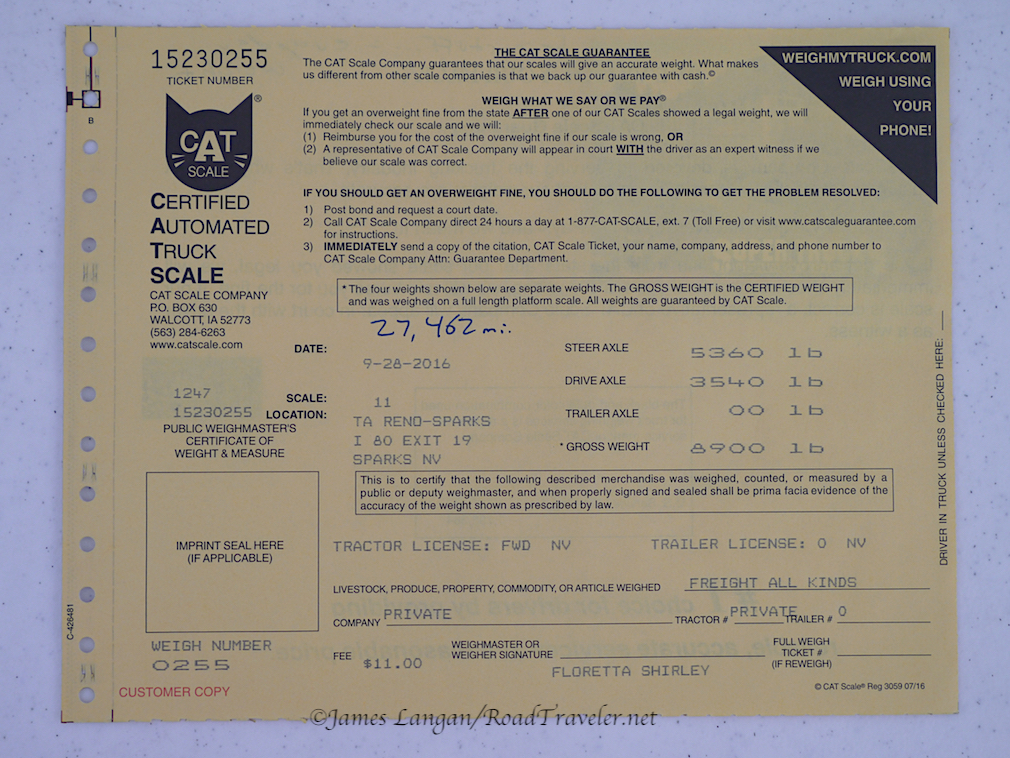
- Appropriate, not maximum, pressures were used for the modified but unloaded truck- 8,900-pound GVW.
- The tailgate was up and the A/C was on.
- Cruise control was used and only adjusted or turned-off briefly when absolutely necessary, and notes were logged regarding any irregularities. If an accident, construction, or other mishap would have caused stopping or a substantial speed adjustment for an extended distance, I would have aborted and repeated the test.
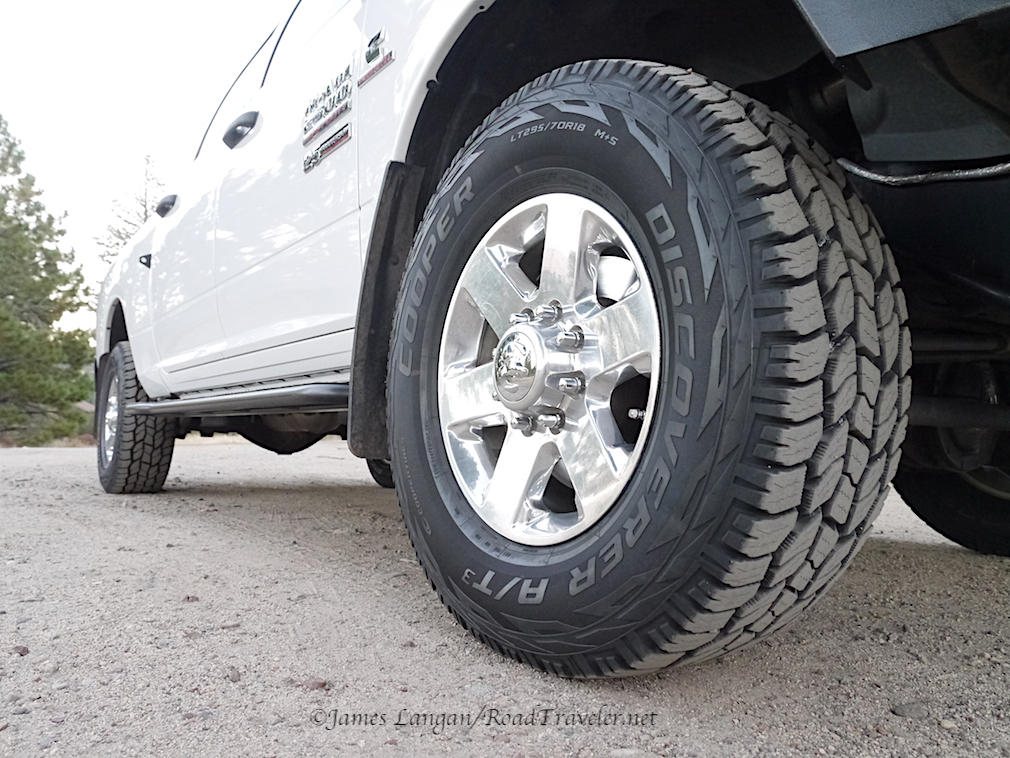
All-Terrain, Commercial Traction, Or Mud-Terrain?
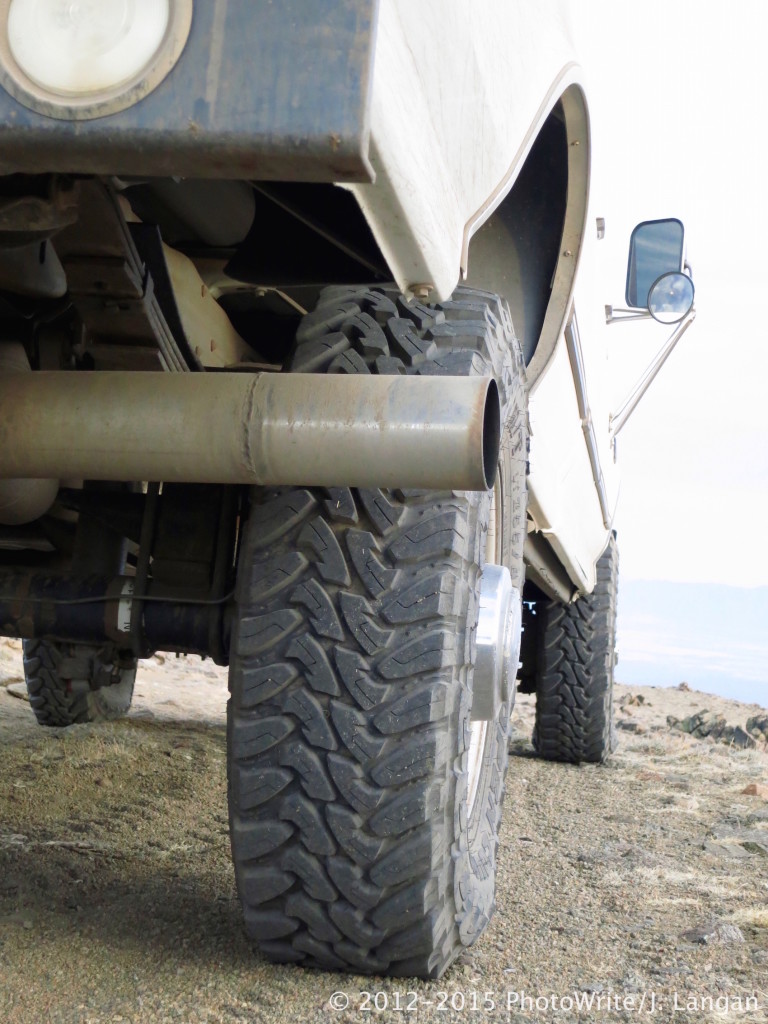
When enthusiasts upgrade their rubber it’s common for choices to fit into one of three categories; all-terrain, commercial traction (hybrid), or mud-terrain. I chose the LT295/70R18E size, which is approximately 34” tall and 12” wide, with an impressive 4,080 pound capacity at 80 psi. Cooper offers three of their popular, yet distinctly different Discoverer patterns in this size: the Discoverer A/T3, Discoverer S/T MAXX, and Discoverer STT PRO.
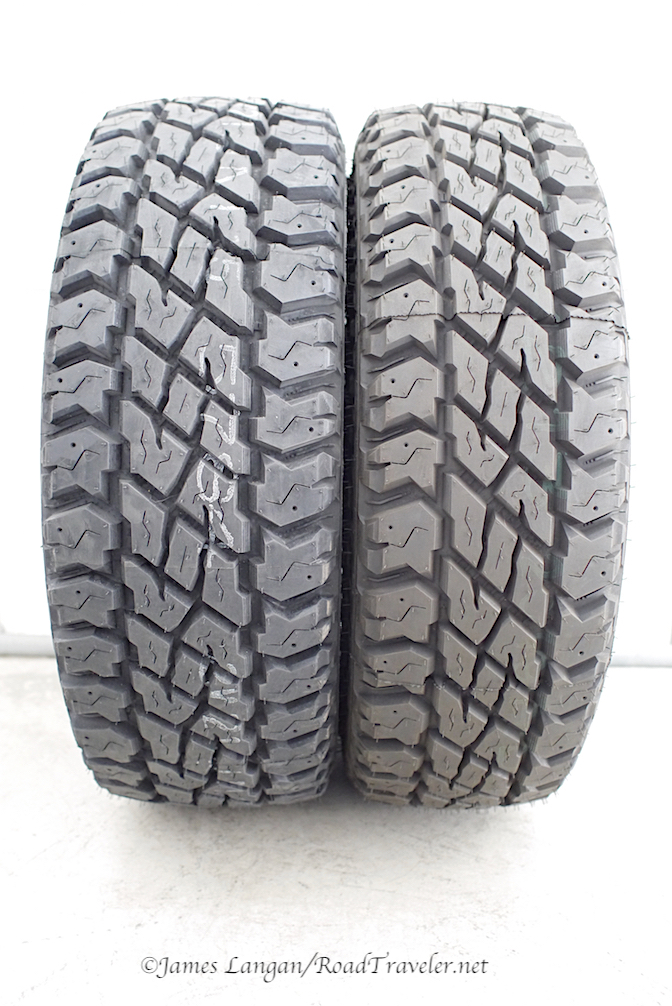
Readers should remember than although every effort was made to limit variables, these were real-world tests using off-the-shelf products; some differences naturally exist. One easily overlooked fact is that tire compounds are proprietary, and each has its own special cocktail. Tread depth, and sidewall and tread plies also vary depending on the terrain and audience targeted. So the differences affecting performance and mpg are not just the visible patterns, but they include the compounds and the overall construction of each tire.

Discoverer 295/70R18E Measurements
The differences between tires of a particular size are often small, though one should be careful when comparing those from different manufacturers and/or a vastly different pattern. Over the past decade I’ve evaluated several sets of Cooper-branded and Cooper-manufactured tires, and my measured values have repeatedly matched the published specifications. Occasional, slight variations appear to be from measuring tools, mounting on narrower rims, etc. Manufactures know precisely what they are producing; they want to be as accurate as possible. Careful measurements were made of each Cooper design, and the details are in Table One.
Reading forums leads me to believe that some consumers don’t measure accurately, and/or expect the on-vehicle dimensions to be identical as the wheel-mounted, off-vehicle measurements; these folks cry foul when they are not. That is silly, as the weight of the vehicle, psi, and wheel width all affect the on-vehicle stature, and this is something the manufactures have no control over.
If you read carefully, and do some math, you may notice that the measured weight of a solo tire, plus the 29.8-pound wheel, does not match the mounted data, there are a few extra pounds in the sums. I’ve seen this many times before, as measuring bare wheels is difficult, and generally I must hold them against my chest and subtract my body weight. The figures listed in table one are what my shop scale, a good bathroom scale, indicated, plenty accurate for weighing heavy auto parts. Emphasis should be placed on the mounted weights, as nobody drives on wheels without tires. The few pound difference between these designs is negligible on a heavy-duty truck with prodigious torque and weighing nearly 9,000 pounds.
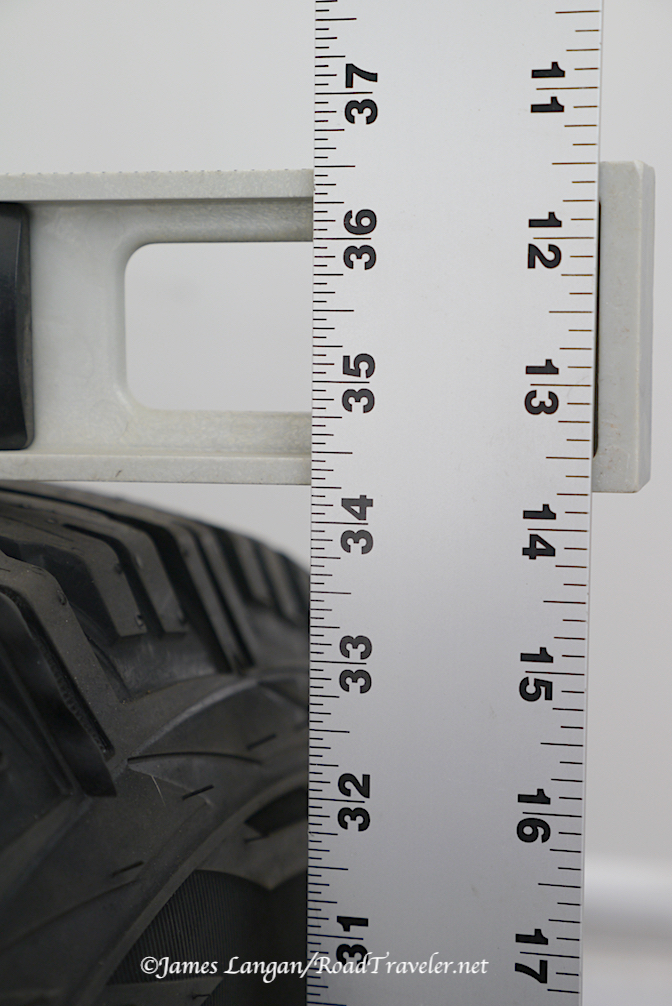
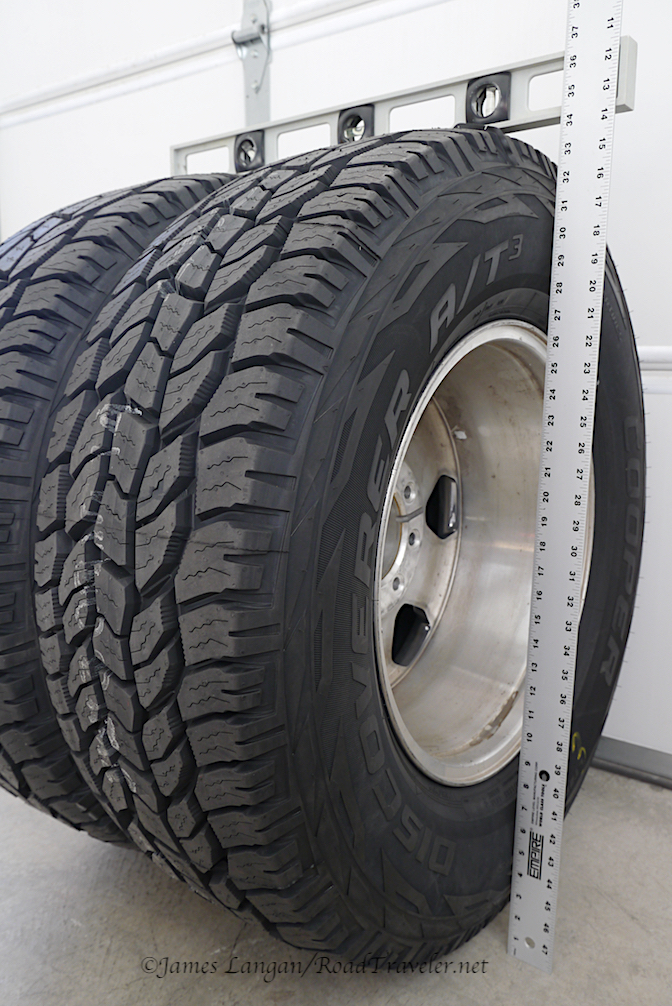
Table One, 295/70R18 Measurements
| Cooper Discoverer 295/70R18 | A/T 3 | S/T MAXX | STT PRO |
| Weight (pounds) | 60.2 | 66.4 | 68.8 |
| Weight mounted (pounds) | 92.0 | 97.4 | 99.8 |
| Height unmounted | 33 11/16” | 33 13/16” | 34” |
| Height mounted @60 | 34 4/16” | 34 5/16” | 34 5/16” |
| Tread width | 9 7/16” | 9 10/16” | 10 3/16” |
| Tread depth | 17/32” | 18.5/32” | 21/32” |
Table Two, Tread Affecting MPG Test Data
| Tread Matters MPG 295/70R18 | A/T3 | S/T MAXX | STT PRO |
| Test GVW (pounds) | 8,900 | 8,900 | 8,900 |
| Tire PSI F/R | 60/40 | 60/40 | 60/40 |
| Date | 9-28-16 | 9-27-16 | 9-29-16 |
| Time | 0832–1202 | 0859–1230 | 0837–1208 |
| Temperatures F | 54-59-72-70-76-72 | 52-58-67-73-75-78 | 58-60-56-69-79-76 |
| Wind/Gusts | 1/2-5/5-2/5-4/4-1/2 | 4/4-2/3-0/0-1/2-0/0 | 0/0-3/4-5/6-3/8-0/0 |
| Odometer | 27,241–27,459 | 26,950–27,168 | 27,503–27,721 |
| Trip Odometer | 217.6 | 217.7 | 217.5 |
| Odo error % MM & GPS | 2.24/2.34 | 2.17/2.29 | 2.28/2.39 |
| GPS (miles) | 222.7 | 222.7 | 222.7 |
| MPH indicated | 64 | 64 | 64 |
| MPH GPS | 65.0–65.5 | 65.0–65.5 | 65.0–65.5 |
| RPM Tach/Edge Insight | 1,700/1,677 | 1,700/1,680 | 1,700/1,677 |
| Fuel used (gallons) | 10.380 | 11.033 | 11.533 |
| ECM indicated MPG | 23.2 | 22.4 | 21.0 |
| MPG calculated | 21.45 | 20.18 | 19.30 |
Tread Results Commentary
Choosing the Cooper S/T MAXX over the STT PRO mudder offers a 4.6% bump in fuel economy. Running the A/T3 instead of the S/T MAXX delivered a 6.3% increase. The leap from the STT PRO up to the A/T3 is 11.1%. Wow!
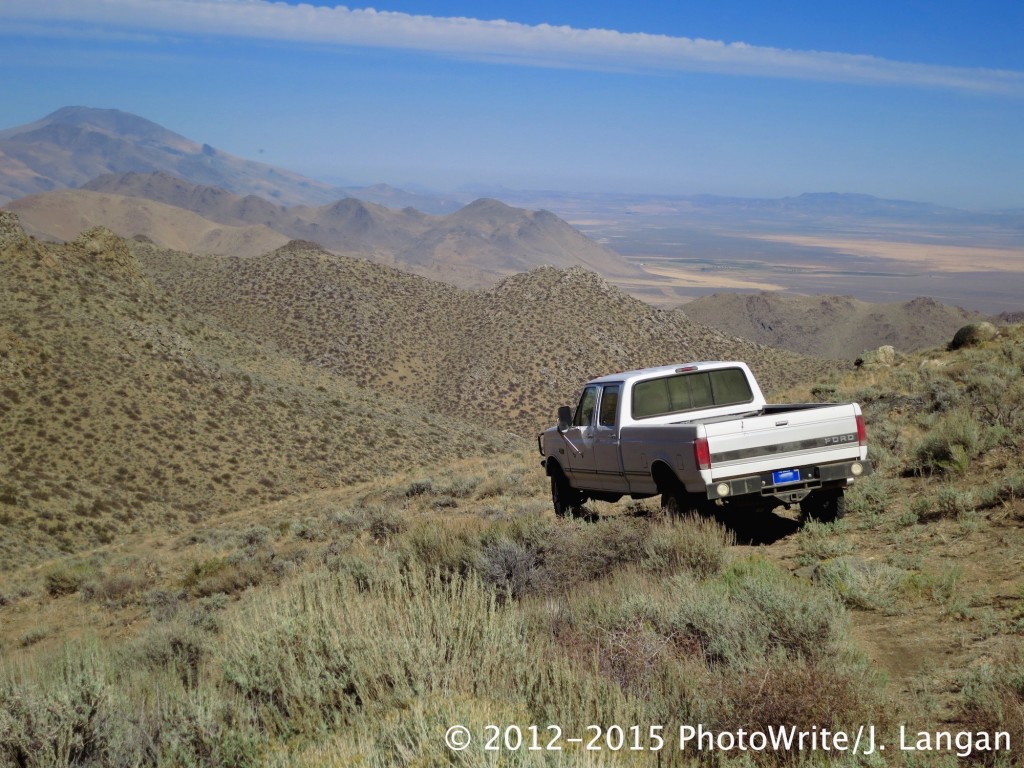
It’s impressive that a modified, heavy-duty, 4WD pickup with prodigious capabilities, weighing 8,900 pounds empty, with 34” x 12” tires mounted, can still reach or exceed 20 mpg during highway travel. Obviously most driving involves at least a few and stops and starts, but these repeatable tests demonstrate what is possible if speed and idling are minimized. If I picked the Discoverer A/T3, it appears that long distance highway runs, even with a couple pit stops, could top 20 mpg.
If one needs the extra grip offered by the STT PRO or S/T MAXX, choosing the A/T3 all-terrain might not be an acceptable tradeoff. Yet, if one is so inclined and has the space, these numbers seem to reinforce the practice of having two sets of tires and wheels. Whether they are all-terrains and mudders for your truck, or highway and winter rubber for your car, strong arguments can be made about picking the right tool for the job. We don’t wear flip-flops to go mountain climbing, and our clodhoppers are out of place in a gymnasium.
Does Width Matter?
The initial primary platform for measuring how tread width affects mpg was my modified, heavy, and low-geared ‘06 V8 4Runner, because I already had one of two desirable sizes. One might think the results would be relevant for most light-truck platforms. The conditions and procedures were the same as those for the different tread patterns.
I used Cooper’s S/T MAXX in 255/80R17, and 285/75R16, both 33” tall, but the 285s are substantially wider. The 255s are about 10” wide and the 285s about 11.5”; conventional wisdom says the 285s would consume about 1–2 mpg. Without creating another table, the short story is that theses tests delivered ambiguous results, there was very little difference. I was shocked! Followup runs might indicate these results were a fluke, but there were no obviously problems or procedure inconsistencies. The narrower 255s delivered 18.34 mpg, and the 285s 18.22 mpg.

Ram Width Comparison
Two sets of tires and wheels for my ‘14 Ram partially met the width criteria, meaning they were very similar height with the identical tread pattern, yet the width difference was small. I had them, so test I did, using the same parameters, during the same week, weather conditions, etc.
One set were the 295/70R18 S/T MAXX in table one. The other were 285/75R17 S/T MAXX mounted on 2015 (WFV) forged aluminum Power Wagon wheels, which weigh 28.6 pounds each. These 285mm-wide Discoverers are also 34” tall, but just fractionally shorter than the 295s. The mounted, measured tread width difference between these two sets is only about 3/8”.
The seventeens were evaluated at the end of six consecutive days of testing, and the weather started to change, with 22 mph winds near the end of this last trip. This was noteworthy, but I’d argue that there was not enough wind during most the run to impact the outcome. The data appear to support that opinion. For the slight difference in width, the results appear appropriate. There simply was not enough difference to influence economy, 20.18 vs. 20.22 mpg. I call that a draw.


Table Three, 285/75R17 Measurements
| Cooper Discoverer 285/75R17 | S/T MAXX |
| Weight | 64 |
| Weight mounted lb. | 93.4 |
| Height unmounted | 33 11/16” |
| Height mounted @60 | 34” |
| Tread width | 9 1/4” |
| Tread depth | 18.5/32” |
Table Four, Ram Width Matters 285/75R17
| Width Matters MPG | S/T MAXX 285/75R17 |
| Test GVW lb. | 8,900 |
| Tire PSI F/R | 60/40 |
| Date | 9-30-16 |
| Time | 0759–1130 |
| Temperatures F | 55-59-69-71-73 |
| Wind/Gusts | 0/0-3/4-5/5-5/14-22/22 |
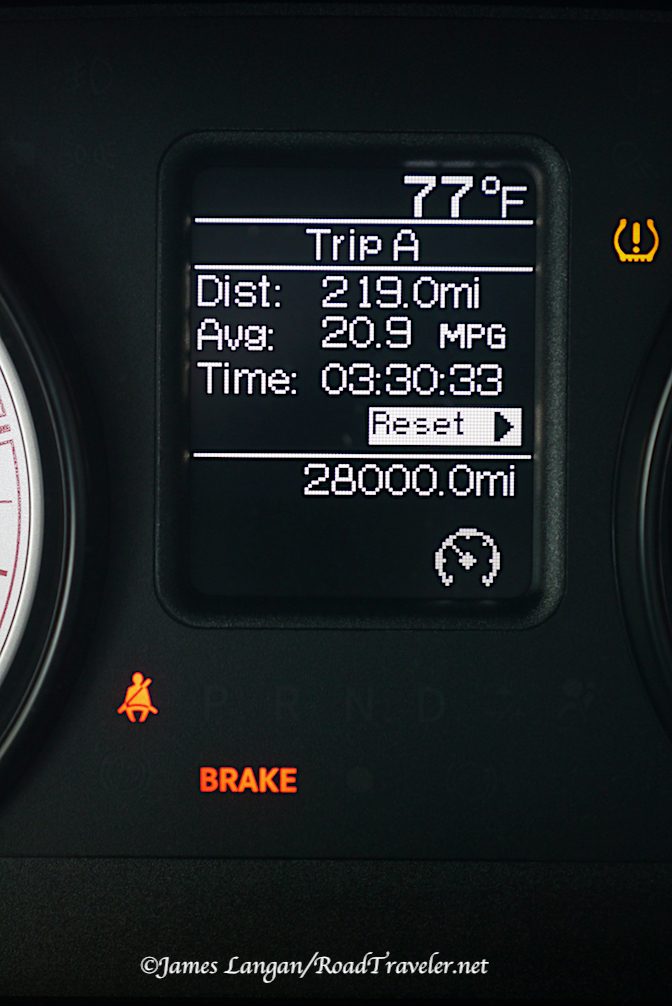
| Odometer | 27,780–28,000 |
| Trip Odometer | 219.0 |
| Odo error % MM & GPS | 1.57/1.68 |
| GPS miles | 222.7 |
| MPH indicated | 64 |
| MPH GPS | 65.2–65.7 |
| RPM Tach/Edge Insight | 1,700/1,690 |
| Fuel gallons used | 11.011 |
| ECM indicated MPG | 20.9 |
| MPG calculated | 20.22 |
The Ram results were not a big surprise. The lack of separation between the 4Runner’s width test mpg numbers, and to a lessor extent the Ram’s, have me questioning how much tread width alone impacts fuel economy. Much taller tires, with the corresponding overall gearing changes, combined with more aggressive tread patterns may be the main story behind fuel economy losses when fitting aftermarket rubber. Sometimes testing answers questions.
James Langan
Copyright James Langan/RoadTraveler/Turbo Diesel Register. All Rights Reserved.
A version of this article was also published in the Turbo Diesel Register magazine.
Source:
Cooper Tires: coopertire.com