Tool Shopping

As part of a new project I’m in the process of assembling a new travel tool kit. In the past I’d drive to my local Sears store, buy a fairly complete set of Craftsman sockets and ratchets, which would include 1/4″, 3/8″, and 1/2″ regular and deep sockets, far too few combination wrenches, and too many screwdriver bits to increase the pieces count of the kit. I’d use this as a starting point, add some adjustable wrenches, screwdrivers, and later some hex bits and be well on my way to having a fairly complete basic travel kit. Though I tend to drive newer, reliable, well-maintained vehicles, I don’t like to leave home without tools. Remote travel makes loose parts and little repairs more important.

Sears Craftsman tools are surely not the highest quality choice, but for this amateur wrench turner they have worked well most of the time, and were inexpensive enough to allow me to compile a travel kit for each of my vehicles. Unfortunately the quality, service, and selection has been in a nosedive at Sears. One reason for this is likely the competition from less expensive tools made mostly in Asia. For decades Made-In-USA was the mantra of Craftsman tools, and they were intentionally affordable, quality U.S. made tools. This is changing.

The Harbor Freight chain is a good example of very inexpensive tools made elsewhere. I’ve purchased a few tools from Harbor Freight in the past, mostly when I needed a specific tool immediately, which I’d likely not use again or often. I’ve never purchased a complete set of tools from Harbor Freight or similar outfits, though I was very close recently as the price is very attractive, and surely for many uses the tools can be good enough. However, when possible I typically prefer to buy higher quality products (not just tools), and also prefer Made-in-USA items. Depending on what one is shopping for, looking for products manufactured in the U.S. is increasingly difficult. It would be very easy to write a long digression about the reasons to buy American made, high quality products, but l will just say that I like to vote with my dollars when it’s practical.

There are still a few (mostly) American made tool companies, which have traditionally been marketed from roving tool trucks, the Snap On and Mac brands come to mind but there are others. Though, as in the past, these brands can be extremely expensive for the average joe. I did some web research over the past week and learned that there are a couple other Made-In-USA auto mechanics tool companies, notably Wright and S-K.

I quickly focused on the S-K brand as I already have a few S-K tools, and S-K sets are readily available at discounted prices online. Yes, they are much more expensive than Asian or Craftsman tools if you pay retail, but they are moderately priced from online sources. Reading a couple threads on GarageJournal.com I learned that S-K declared bankruptcy and was immediately purchased by Ideal Industries in August 2010. Quoted from a 2010 press release: “Acquiring SK Hand Tools will expand our focus on American-made quality, service and value. Loyal customers can count on the SK brand being re-energized under IDEAL ownership as the premier ‘Made in USA’ line of professional tools.” http://www.idealindustries.com/whatsnew/press_releases/view.jsp?news=2010-08-23_sktool

Another thing I like about the way these S-K mechanic’s hand tools are being sold, is that I can buy smaller, yet more complete sets of tools to cover a specific need. For example, there is one very complete all metric set of 1/4″ and 3/8″ drive sockets, SK 94562. Want a nice 3/8″ drive set of SAE and metric sockets, standard and deep? The 49-piece SK 94549 has my attention, currently only $138.00 on ToolTopia.com. Are these new S-K tools as good as the other U.S. made tools with the big reputations? S-K surely thinks and says so. Some argue the reduced price compared to the big names like Snap On are due to the reduced marketing and tool truck middleman. I don’t know, but I’m about to find out. For the record, a few years ago I did buy and regularly use 1/4″, 3/8″, and 1/2″ Snap On ratchets.

Of course if I eventually buy a few S-K sets, I could easily end up with better travel tools than I have in my shop box. That’s a nice problem to have, and surely the Craftsman stuff could move into my truck and the S-K bits could become my primary tools.

RoadTraveler—Rolling Forward

Copyright © 2012 James Langan
Tire Technology 101

It these modern times with almost endless high performance, specialty tire choices for trucks, cars, and motos, it’s easy to forget how far we have progressed in just the past few decades. Prior to the 1980s there were few enthusiast, recreational off-highway truck tires.

As trucks and tires have advanced to a very high level many are now focused on the toughest tire available, thinking this is the best option. Maybe so, if you are continually puncturing your tires and/or ripping sidewalls, maybe you do need the toughest tire. However, some have forgot or never knew that the problem with light-truck tires just a few decades ago was that most were bias-ply designs and were very inflexible. They were pretty rugged as bias-ply tires tend to be, but in addition to their limiting tread designs, on-highway handling was only fair, and sidewall and tread flex, a key component of traction, was almost non-existent. Radial tire design and the specialty tires have changed this in a big way.

This comical and entertaining historic advertising movie from 1939 for the Fisk Tire Company illustrates how advanced tire technology has become and how different it was decades ago. At minute 4:00 in the video, the narrator explains how the rubber “inserts” allow the formerly continuous tread ribs to flex and act independently. This is essentially the same as what’s accomplished with the siping of modern tires, allowing tread blocks to conform and move independently, and providing biting edges for grip. Flexibility is key. If you want traction, you need flex. Most modern tires do offer a lot of flex, and flexibility is part of the reason handling, ride, and traction is so good (think radial tires). It’s important to remember and focus on the fundamental principles of traction and drivability.

Copyright © 2012 James Langan

No Dakar Rally for North America?

I’m not much of a racing fan, or even a sports fan. It’s not that I don’t appreciate the skill of athletes, I do, but it’s never been my thing to watchsports. Though a few years ago I got hooked on watching the excellent Dakar Rally video coverage on sbs.com.au. At the end of each day in early January, I would watch all the SBS videos featuring the bikes, quads, cars, and trucks.

After two days of not being able to play the 2012 productions, a Google search indicates viewers from the United States and Canada (maybe others too) are not able to view these shows. 🙁

This is probably because another network has the rights to coverage for the U.S. and Canadian markets, but I’ve yet to learn the reason or a suitable substitute for the comprehensive SBS coverage. Maybe the videos will be viewable when the race is over?

Oh well, I guess it’s time get back to doing and not spend so much time watching during the first two weeks of the year. Thanks for the butt kick forward, it’s time to get back to working [playing] with trucks and motos.

RoadTraveler – Rolling Forward

Copyright © 2012 James Langan


Static Balance Details

Got Wheel Weight?

A reader asked a few good questions, see below.

Q. Via this balancing method, did you reduce the amount of weight required? 

A. In general, static balancing methods reduce the weight needed to balance a tire/wheel combination, and this is true for both bubble balancing and machine static balancing. Static balancing only balances a tire and wheel in one plane, vertically. More weight is needed for a dynamic balance, partially because dynamic balancing also helps correct lateral imbalance.

The amount of weight needed to balance a tire using this bubble balancer appeared similar to a machine static balance. Maybe slightly more weight and less precise.

Q. Have you tried rotating the tire on the rim to minimize added weight?

A. While using this bubble balancer there was no need to rotate the tires on the wheels, the weight needed to balance was not excessive once I was competent. Obviously it’s not easy for a man working with hand tools to breakdown a tire and rotate it on a wheel. However, many times in the past while having tires machine mounted & balanced I’ve had the tires rotated on the wheel. This was done is response to a tire/wheel combination that required more weight than I thought should be used.

How much is too much? That depends on the wheel (size, aluminum vs. steel) and the size, weight, and tread of the tire. I’m generally very particular and don’t want to feel any tire imbalance from a warmed-up tire. For my trucks, all of which currently run 33-inch tires, I’m typically happy if less than six ounces are needed for a static balance. Generally a few more are needed for a dynamic spin balance. When a new tire starts needing more than 8-9 ounces (dynamic) I like to rotate the tire on the wheel 180-degrees, hoping less weight will be required. This doesn’t always work, and sometimes the tire must be returned to its original position. The weight mentioned above are personal maximums, less weight is better. Regardless of the weight needed, more important is the quality and repeatability of the balance.

Q. Have you tried balancing the rim by itself? 

A. I’ve checked the balance of wheels without tires, though I’ve never actually needed balance a wheel without a tire mounted. Checking the balance of a wheel has invariably showed that either the tire or the balance machine was the source of a problem, but of course wheels can be damaged. I’ve been using light, factory aluminum wheels and moderate sized tires for many years, and been lucky my heavily used wheels remain true.

Copyright © 2011 James Langan

Finding Balance

Going off what little I could remember, what my friend Paul remembered, and reading what a few old-timers had to say about the lost art of bubble balancing, I started what became a long weekend project. It seems I’m not the only one who wants to remember and/or practice the old ways, as one thread I found on www.GarageJournal.com had only been dormant for about eight months. It was helpful enough that I decided to register for the forum and post a thank you comment.

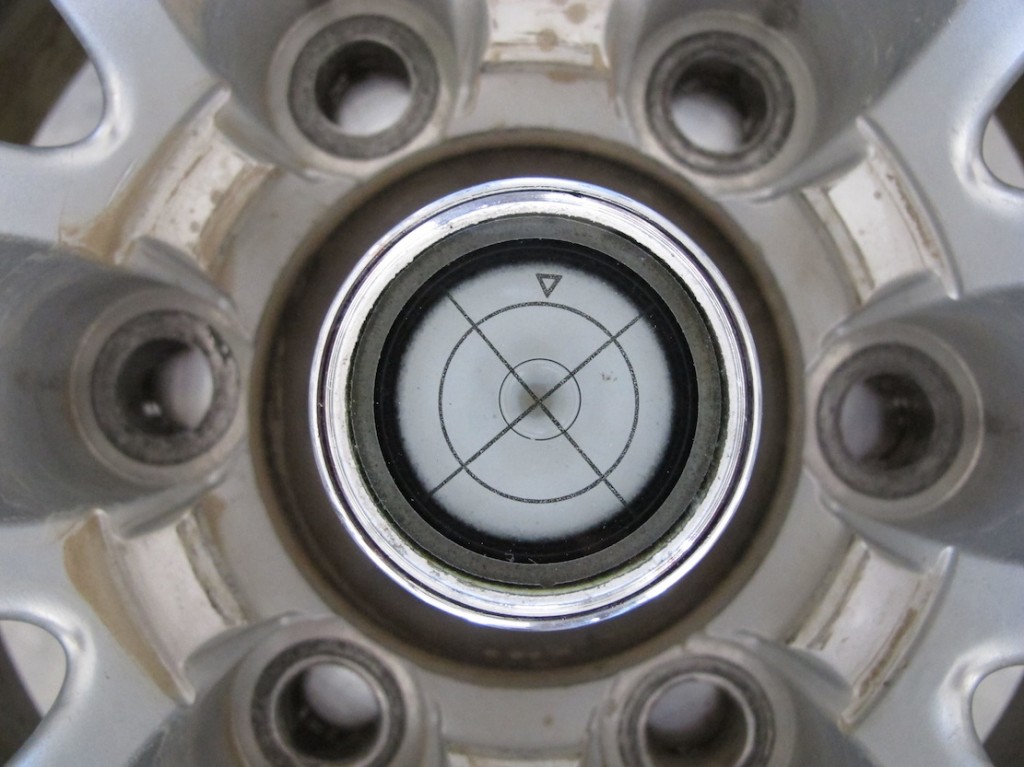
I balanced and then rebalanced each tire a few times. Initially I was not exacting enough (unusual for me), or maybe patient enough. Using a bubble balancer is not the most technical, modern balancing method, and tolerating a half a bubble off is not okay, patience and precision are critical.

But there was much more to it than that. In addition to being patient and waiting minutes for the spirit level bullseye to settle before and after adding weights, there was the challenge of which method to use, this is what took so long. Learning. Several hours of attempting to adequately balance my tires, trying most of the methods a few times on each wheel.

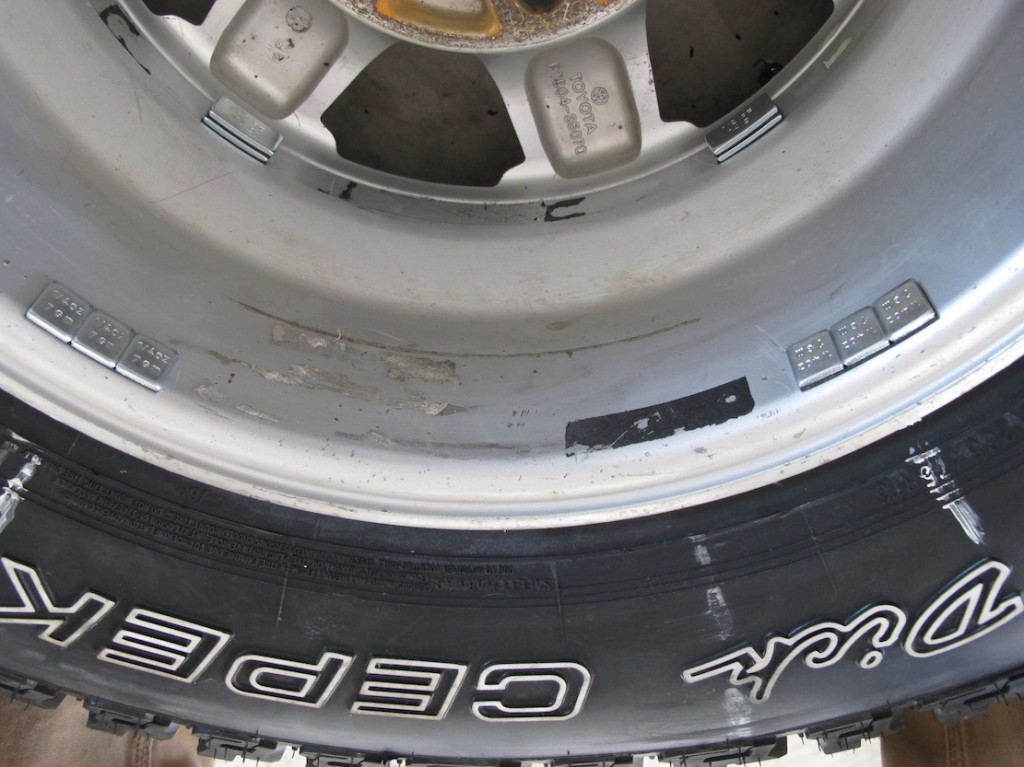
Split the necessary weight on the inside and outside of the wheel but directly inline with the heavy spot on the other side of the tire? Or use the method that was patented by BADA of moving the necessary wheel weight out to approximately 3 & 9 o’clock opposite the point of imbalance? Of course testing the quality of the balance job requires putting the tires on the car and actually driving. For any of these techniques to work you must first level the balancer.

Experimenting with the BADA method.

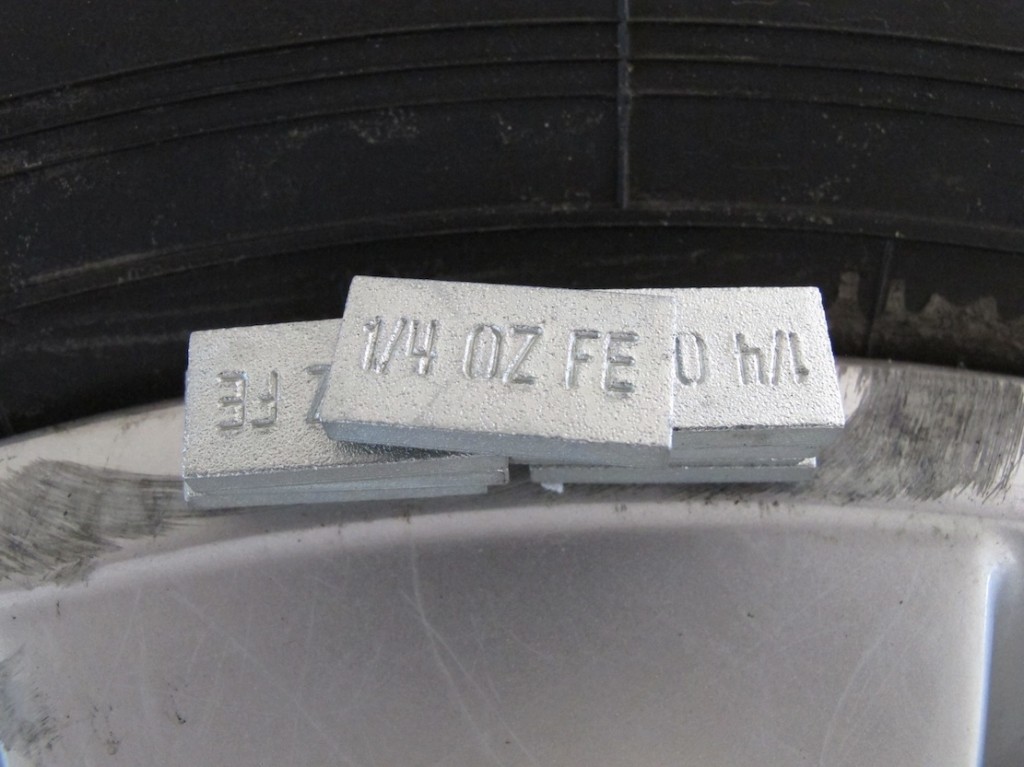
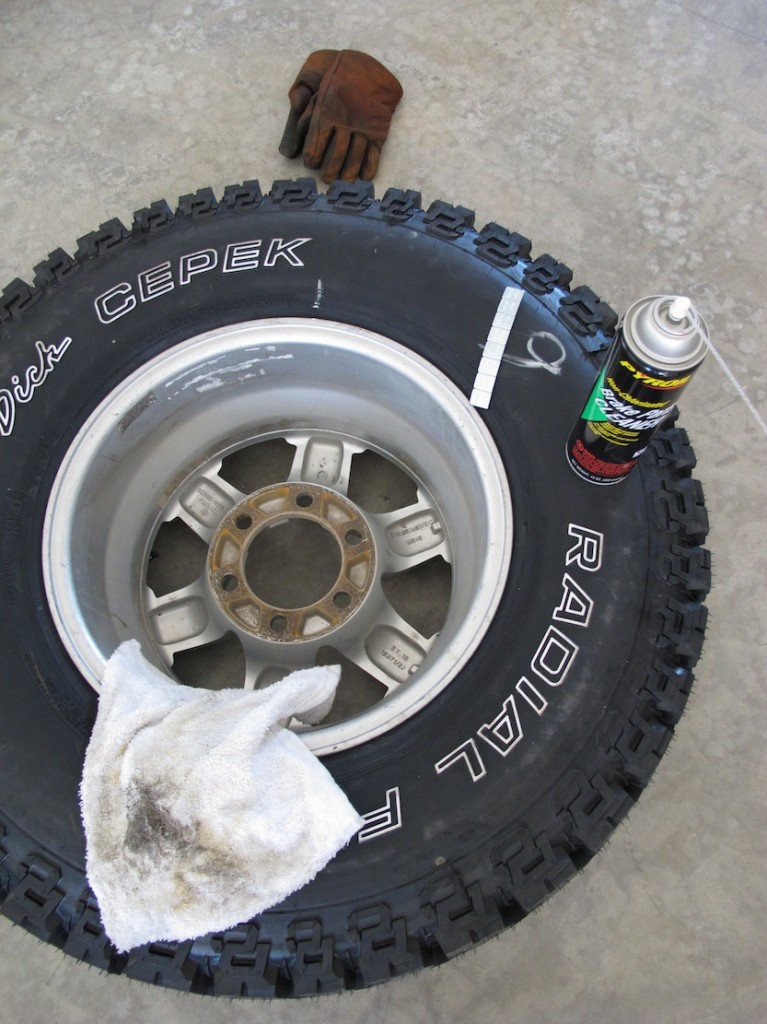
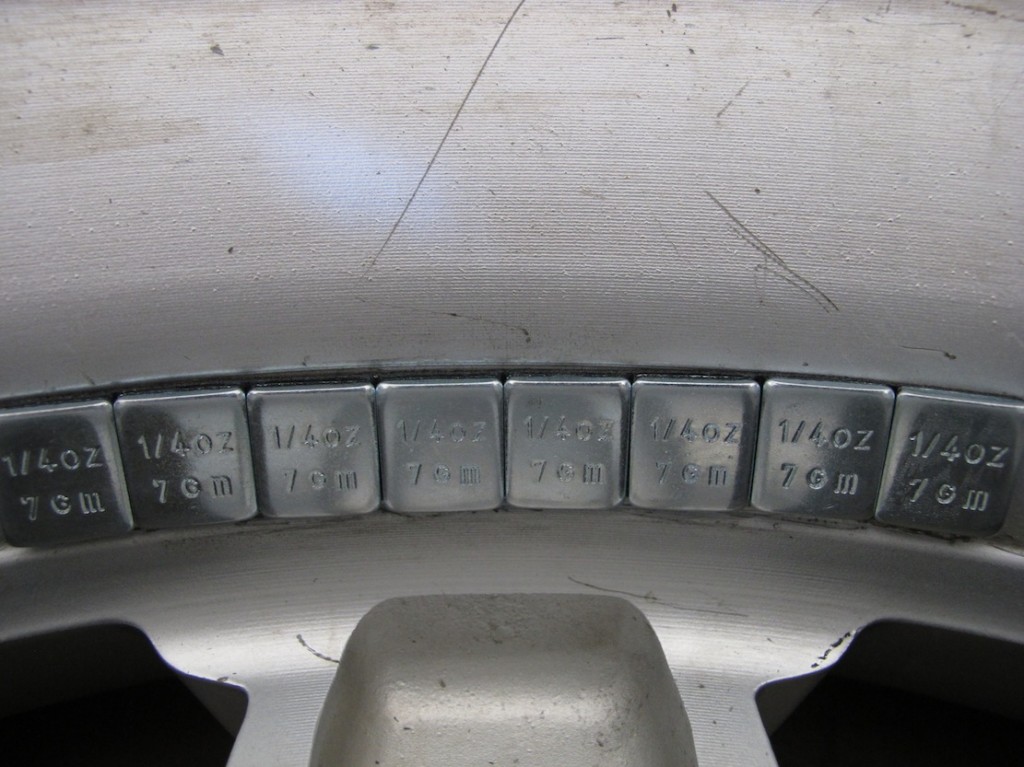
Ultimately I had the most success putting tape-weights 180-degrees across from and directly inline with the heavy spot, on the inside of the wheel. This is the same groove my tire shops had been using for my machine, static balance. If the tire/wheel combination needed 4 ounces, I centered the strip of tape-weights opposite the heavy spot. This did help spread the weight over a larger area of the wheel, though not as much as using the BADA method.

Simple static method

After getting closer and better, I started focusing on the fronts and refining my skills. Discovering that one of my older FC II tires that had already logged 10,000-miles on the right side of the car, didn’t want to be run on the left helped tremendously. I eventually decided that the two new tires would go on the same axle, the front, and not on the left side of the car as I had hoped would work.

Should I start manually changing my tires? My friend Paul’s recent experience changing much smaller vintage Willys MB tires with spoons makes me think not. He tore his bicep.

RoadTraveler    rollin’ forward

Copyright © 2011 James Langan

Don’t Tolerate Half A Bubble Off

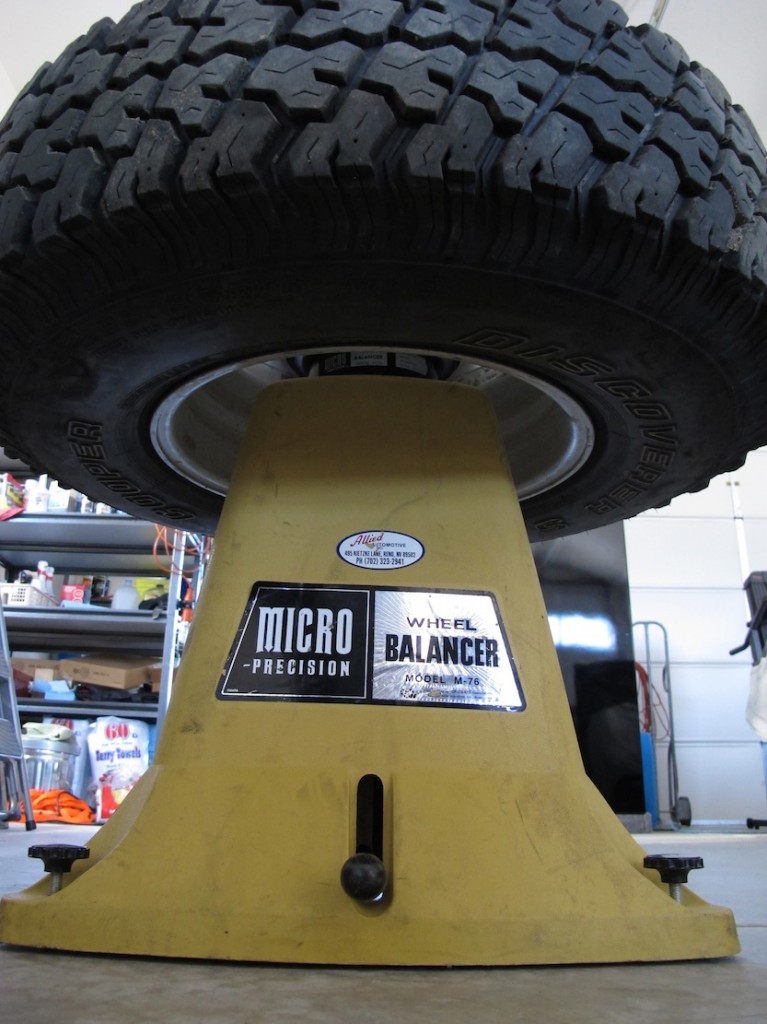
Cooper S/T 255/85R16D on bubble balancer

My friend Paul had a bubble balancer that his father purchased new about twenty years ago, and was willing to lend it to me. They used the balancer on a regular basis to maintain their tires when dad, mom, brother, and sister were all driving thousands of miles a month as couriers. It seemed like an interesting idea, and since I typically have my tires spin balanced using the static (single plane) method, which uses less weight and seems to work well for heavy light-truck RV tires (as they used to be called) I decided to give it a try.

This is one of those things that is better written about a few weeks after the exercise, as the hour-by-hour, day-by-day report would have been a bit too much to share, and would have covered your screen with dirt, sweat, and a few expletives. Like any new skill, there was a learning curve. I’d actually used a bubble balancer about twenty-five years ago when I briefly worked in a tire shop during my youth. Back then, the bubble balancer was only used for the thrifty folks who purchased a tire and didn’t want to pay for a machine spin balance. I didn’t bust tires long enough to become a bubble balance expert, and whatever knowledge I once had using a bubble balancer had long since faded and I was starting over.

Computers are surely a blessing and a curse, but when it comes to finding information the web is an invaluable resource. I can’t imagine having to go to a library and search through volumes of old books and magazines to find information on using a bubble balancer. Though like many things on the web, one must sift through the many of opinions hearsay to find proven techniques that work. It turns out there is more than one way to use a bubble balancer, and one of the methods was even patented!

Copyright © 2011 James Langan

A New Tire or Two

Old TXR 255/85R16D spare and a Not so old Dick Cepek F-C II 285/75R16D

Several weeks ago I cut a sidewall on one of my LT285/75R16 Dick Cepek Fun Country II (FC II) tires. The story about the sidewall cut and trail will be told later, but with only three FC II treads on the 4Runner I was in need of at least one new tire. Since I had been running a close enough 255/85R16 spare, I decided to buy two FC II to insure I had the exact tire in the unlikely event I ruined another casing in the near future. My calculations indicated that if I rotated the older three tires on one side of the car, all with 3/32″ of wear, and the two new ones on the other side, the wear would even out over the next 30,000-miles.

Most tire warranties don’t cover off-road use. This is term is open to interpretation, as many state and county roads in the rural west are not paved but are still very clearly roads. Regardless, since the three older FC II treads had been purchased mail-order and were not covered under any road hazard warranty, I decided to buy the new tries mail-order as well. One of the local tire shops I do lots of business with would have mounted & balanced the new treads for a reasonable fee, but I decided to play with a little old school technology and balance them myself. It wasn’t easy.

Copyright © 2011 James Langan